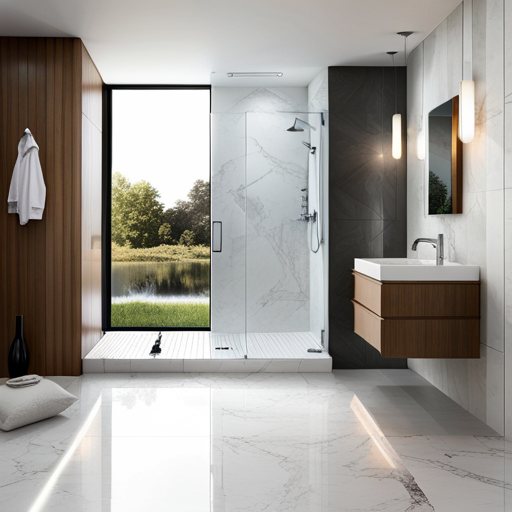
A Step-by-Step Guide to Linear Shower Drain Installation: Tips and Tricks
Sep 23, 2023

1. Plan the Placement:
Before starting the installation process, it is essential to plan the placement of your linear shower drain. Ideally, the drain should be positioned at the lowest point in the shower area to ensure proper water drainage. Measure the slope of the floor and mark the location where the drain will be installed, ensuring that it aligns with the tile pattern for an aesthetically pleasing finish.
2. Select the Correct Drain:
Linear shower drains come in various styles, sizes, and materials. Consider factors such as the size of your shower, the anticipated water flow rate, and the desired style when choosing the appropriate drain. Stainless steel linear drains are popular due to their durability, sleek appearance, and corrosion resistance. Once you have made your selection, ensure that the drain includes all required components for installation, such as a channel, grate, and waterproofing membrane.
3. Prepare the Substrate:
Before installing the linear drain, ensure that the shower's substrate is properly prepared. Thoroughly clean the area and remove any debris or excess moisture. It is crucial to make sure the substrate is level and sloped towards the drain, allowing water to flow freely. Use a waterproofing membrane on the shower floor and walls to protect against water damage and ensure a watertight installation.
4. Install the Drain Body:
Begin the installation process by placing the drain body into the prepared substrate. Apply a layer of suitable waterproofing adhesive to the underside of the drain flange, ensuring complete coverage. Press the drain body firmly into place, aligning it with the marked location. Use a spirit level to ensure the drain is perfectly level before allowing the adhesive to dry according to the manufacturer's instructions.
5. Connect the Drain Outlet:
After the drain body is securely in place, connect the drain outlet to the plumbing system. Ensure that all connections are watertight, using thread seal tape or approved sealants where necessary. It is essential to follow local plumbing codes and regulations during this step to ensure proper functionality and compliance.
6. Install the Grate:
Once the drain body and outlet are secured, install the chosen grate or cover. The grate should not only complement your bathroom design but also offer adequate water flow capacity. Check that the grate is level and aligns with the rest of your tiling pattern. Secure the grate into place according to the manufacturer's instructions, ensuring a snug fit.
Installing a linear shower drain can elevate the functionality and aesthetics of your bathroom while providing efficient water drainage. By following these step-by-step tips and tricks, you can ensure a successful installation that not only meets your design preferences but also maintains the integrity of your shower area. Remember to consult professionals if needed and enjoy the modern, stylish, and practical benefits of your new linear shower drain.


